
IMPORTANT:Support for Unique Device Identifier (UDI) barcodes has been removed from EMDK for Android 8.0 (and later) for devices running Android 10 (and later).
This sample app demonstrates how to scan barcodes that use any of the three Unique Device Identification (UDI) standards: GS1, ICCBBA, and HIBCC.
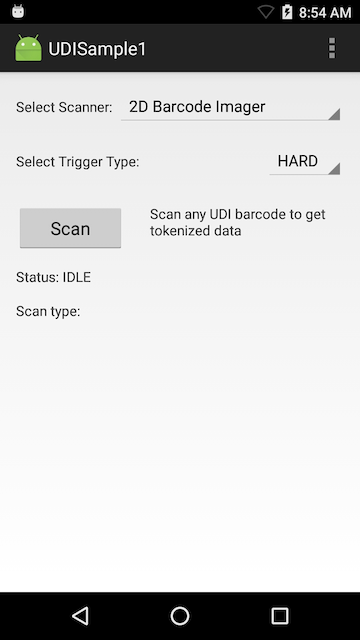
NOTE: The appearance of sample app screens can vary by sample app version, Android version and screen size.
Before beginning, download, build and install the sample app.
See the Sample App Set-up Guide for help.
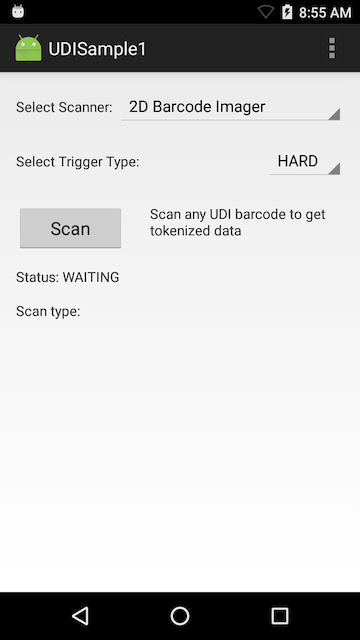
Set the Trigger type set to "Hard" and tap the Scan button to enable the scanner. The status are displays "Waiting" similar to the image below:

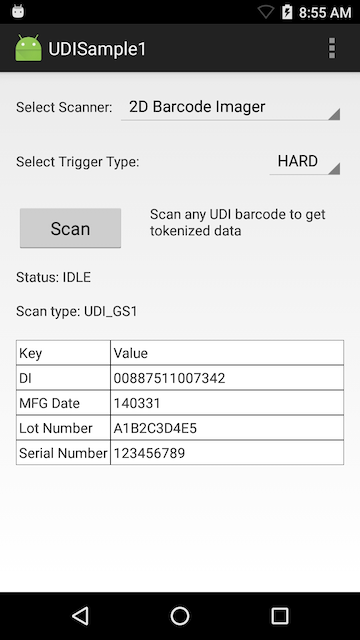
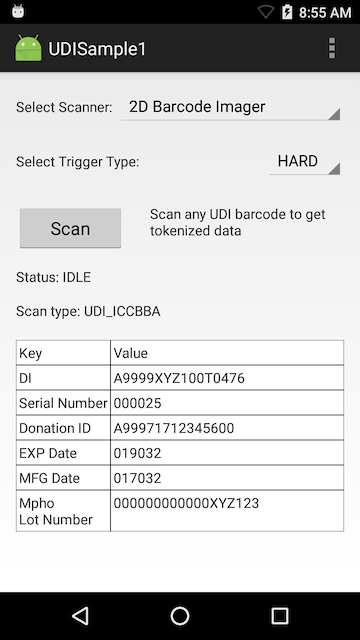
Point the device at a UDI label and press the hardware scan trigger. The UDI label type and its UDI data are displayed:

NOTE: Sample apps are for demonstration purposes only and should not be used in production environments.