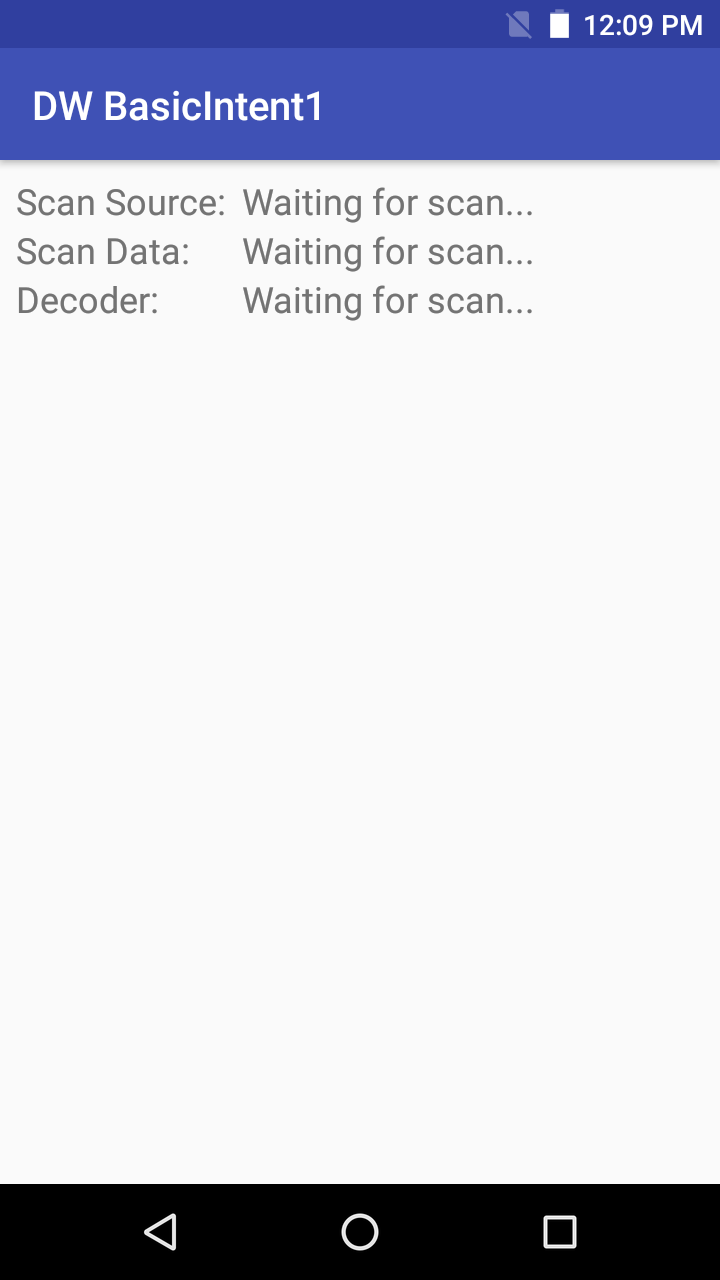
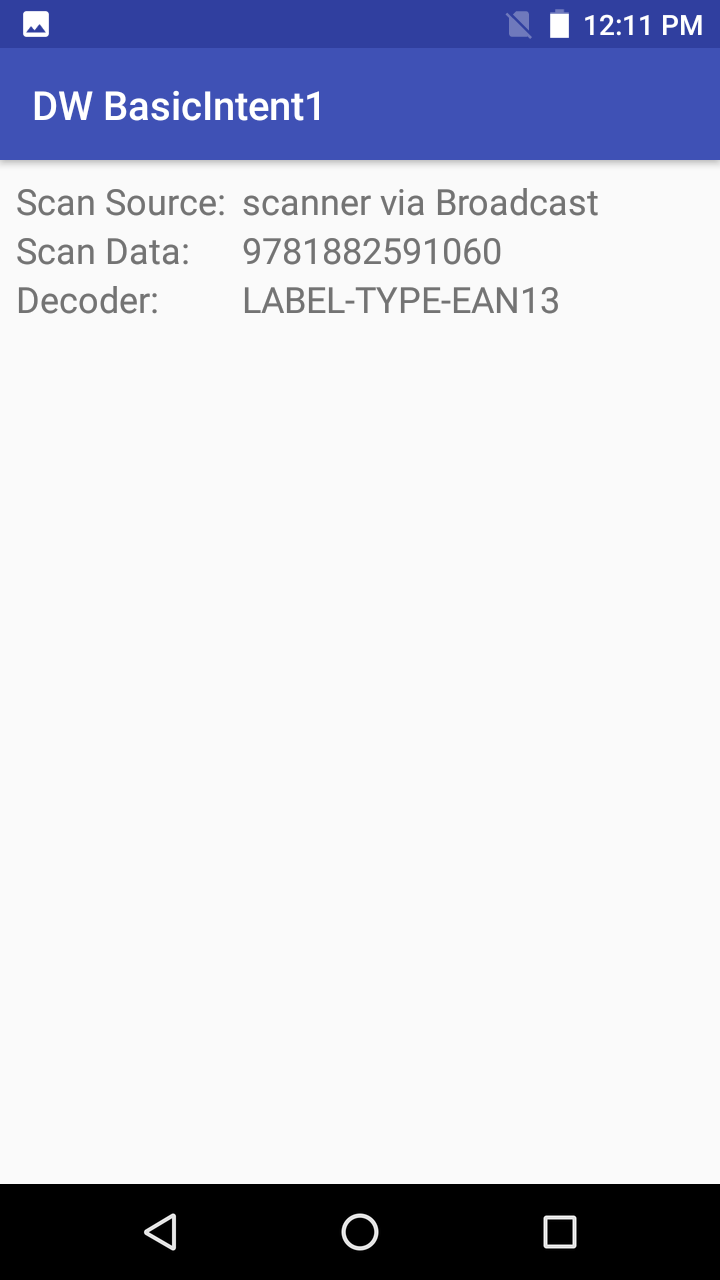
このサンプルでは、DataWedge を使用して、スキャンしたバーコード データを Android インテントを介して受信する方法を示します。大まかな手順は、以下のとおりです。
以上は、DataWedge API ではなく、Android の汎用インテントを使用した最小限のコード アプローチです。DataWedge の設定とデータ キャプチャを詳細に制御するアプリを開発するには、「DataWedge API」ガイドおよび「ご使用の前に」ガイドのベスト プラクティスを参照してください。
| DataWedge API | アプリの機能 |
|---|---|
| なし | なし |
インテントを介してスキャンを出力するように DataWedge を構成します。
「アプリ」 > 「DataWedge」 から DataWedge を起動します。
プロファイル (プロファイルが明示的に割り当てられていないアプリで使用される Profile0 など) を選択するか、新しいプロファイルを作成します。
このサンプル アプリにプロファイルを関連付ける方法は以下の通りです。
a. [関連アプリ] をタップします。
b. 右上のメニューから [新規アプリとアクティビティ] を選択します。
c. [com.zebra.basicintent1]を選択します。
d. [*]を選択します。

以下の設定を確認します。
インテント出力を以下のように構成します。
strings.xml ファイルで定義された値と一致する必要があります。これは DataWedge によって送信される暗黙的なインテントです。このインテントを受信するために、アプリケーションで、特定のアクションにブロードキャスト レシーバを登録する必要があります。)
これらの設定に関する詳細は、DataWedge の「インテント出力」ガイドを参照してください。
このアプリの利用方法:
BasicIntent1 サンプル アプリをダウンロードしてビルドし、起動します。
バーコードをスキャンします。データ フィールドが入力されます。
BasicIntent1 サンプル アプリのソース コードを参照してください。
DataWedge から送信されたインテント データをアプリで確実に受信するための重要な手順がいくつかあります。
<resources><string name="app_name">DW BasicIntent1</string><string name="activity_intent_filter_action">com.dwbasicintent1.ACTION</string><string name="datawedge_intent_key_source">com.symbol.datawedge.source</string><string name="datawedge_intent_key_label_type">com.symbol.datawedge.label_type</string><string name="datawedge_intent_key_data">com.symbol.datawedge.data_string</string></resources>ブロードキャスト レシーバを登録します。DataWedge はブロードキャスト インテントを送信するように構成されているため、アプリケーションでブロードキャスト レシーバを登録する必要があります。これは、サンプル アプリの onCreate() メソッドで行います。
protected void onCreate(Bundle savedInstanceState) { IntentFilter filter = new IntentFilter(); filter.addCategory(Intent.CATEGORY_DEFAULT); filter.addAction(getResources().getString(R.string.activity_intent_filter_action)); registerReceiver(myBroadcastReceiver, filter); }フィルタされるアクションは、DataWedge プロファイルに構成されたアクションと一致していることに注意してください。実稼働アプリケーションでは、効率化のために、登録/登録解除は onResume()/onPause() メソッドで実行される可能性があります。
ブロードキャスト レシーバを定義します。これは、サンプル アプリの MainActivity.java で行われます。
private BroadcastReceiver myBroadcastReceiver = new BroadcastReceiver() { @Override public void onReceive(Context context, Intent intent) { String action = intent.getAction(); Bundle b = intent.getExtras(); if (action.equals(getResources().getString(R.string.activity_intent_filter_action))) { // Received a barcode scan try { displayScanResult(intent, "via Broadcast"); } catch (Exception e) { // Catch if the UI does not exist when we receive the broadcast } } }
};スキャンしたデータを抽出し、画面に表示します。これは、サンプル アプリの displayScanResult() メソッドで行われます。
private void displayScanResult(Intent initiatingIntent, String howDataReceived) { String decodedSource = initiatingIntent.getStringExtra(getResources().getString(R.string.datawedge_intent_key_source)); String decodedData = initiatingIntent.getStringExtra(getResources().getString(R.string.datawedge_intent_key_data)); String decodedLabelType = initiatingIntent.getStringExtra(getResources().getString(R.string.datawedge_intent_key_label_type)); final TextView lblScanSource = (TextView) findViewById(R.id.lblScanSource); final TextView lblScanData = (TextView) findViewById(R.id.lblScanData); final TextView lblScanLabelType = (TextView) findViewById(R.id.lblScanDecoder); lblScanSource.setText(decodedSource + " " + howDataReceived); lblScanData.setText(decodedData); lblScanLabelType.setText(decodedLabelType);
}エクストラ キーは、strings.xml ファイルで以前に定義されていることに注意してください。このコードは、サンプル アプリで実行したように、データを配置する UI が存在することを前提としています。
関連ガイド: