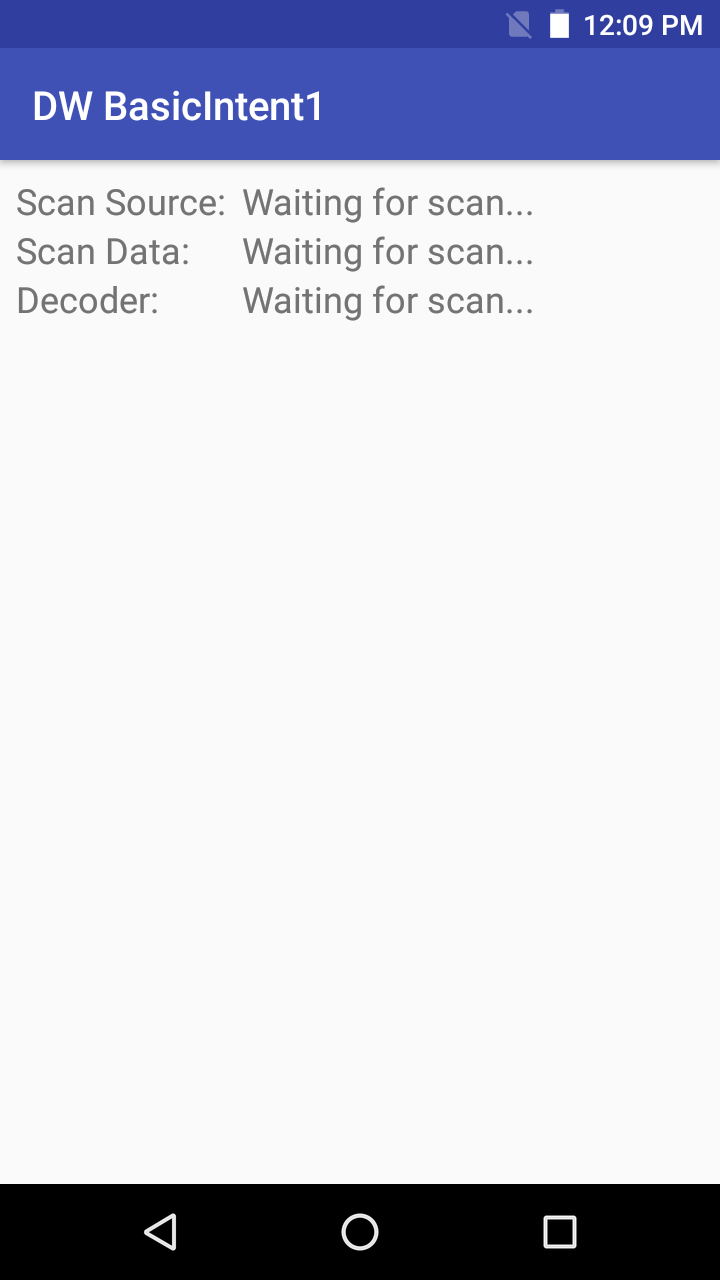
This tutorial demonstrates how to use DataWedge to receive scanned barcode data through an Android intent with the sample application BasicIntent1. The high level steps are:
This is the minimal code approach using a generic Android intent rather than DataWedge APIs. To develop an app with finer control of DataWedge settings and data capture, refer to the DataWedge API guide and best practices in the Get Started guide.
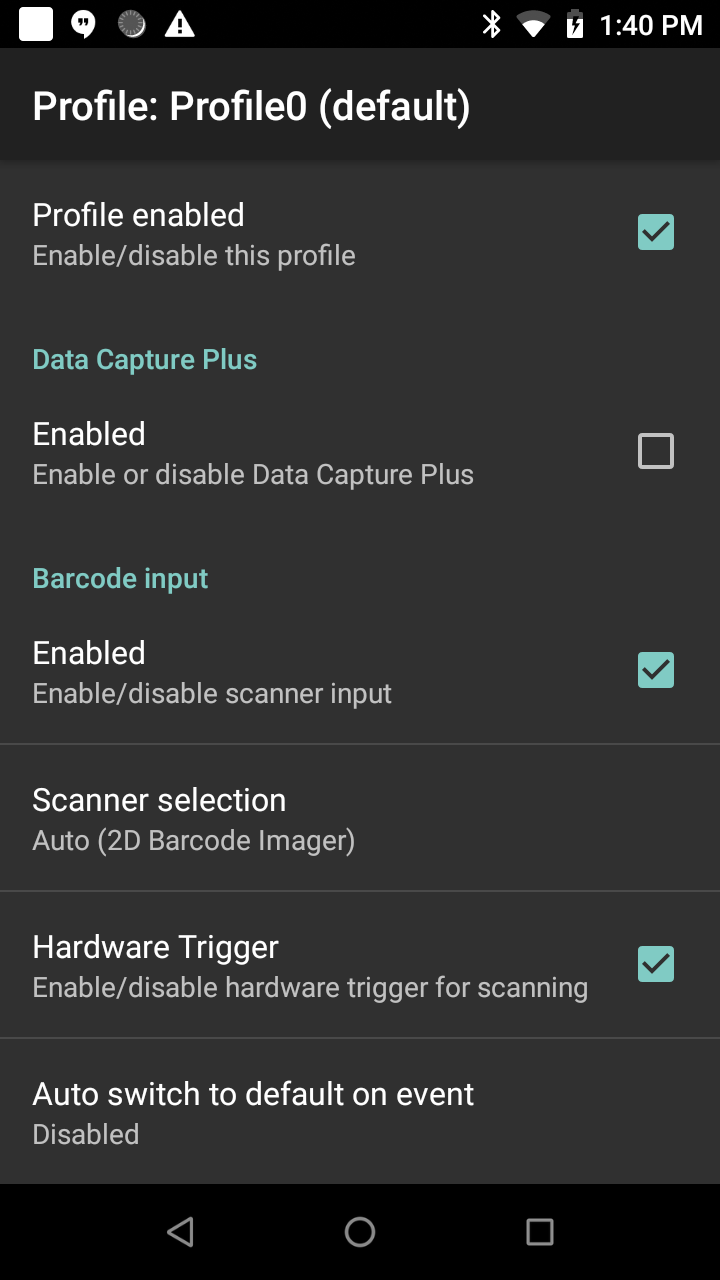
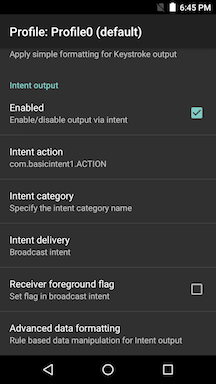 Refer to the DataWedge Intent Output guide for more information about these settings.
Refer to BasicIntent1 sample app source code.
There are several important points to ensure that the app receives the intent data sent from DataWedge:
<resources>
    <string name="app_name">DW BasicIntent1</string>
    <string name="activity_intent_filter_action">com.dwbasicintent1.ACTION</string>
    <string name="datawedge_intent_key_source">com.symbol.datawedge.source</string>
    <string name="datawedge_intent_key_label_type">com.symbol.datawedge.label_type</string>
    <string name="datawedge_intent_key_data">com.symbol.datawedge.data_string</string>
</resources>
protected void onCreate(Bundle savedInstanceState) {
    IntentFilter filter = new IntentFilter();
    filter.addCategory(Intent.CATEGORY_DEFAULT);
    filter.addAction(getResources().getString(R.string.activity_intent_filter_action));
    registerReceiver(myBroadcastReceiver, filter);
}
Note that the action being filtered matches the action configured in the DataWedge profile. In a production application, for efficiency the register/unregister would likely be done in the onResume()/onPause() methods.
private BroadcastReceiver myBroadcastReceiver = new BroadcastReceiver() {
    @Override
    public void onReceive(Context context, Intent intent) {
        String action = intent.getAction();
        Bundle b = intent.getExtras();

    if (action.equals(getResources().getString(R.string.activity_intent_filter_action))) {
        //  Received a barcode scan
        try {
            displayScanResult(intent, "via Broadcast");
        } catch (Exception e) {
            //  Catch if the UI does not exist when we receive the broadcast
        }
    }
}


};
private void displayScanResult(Intent initiatingIntent, String howDataReceived)
{
String decodedSource = initiatingIntent.getStringExtra(getResources().getString(R.string.datawedge_intent_key_source));
String decodedData = initiatingIntent.getStringExtra(getResources().getString(R.string.datawedge_intent_key_data));
String decodedLabelType = initiatingIntent.getStringExtra(getResources().getString(R.string.datawedge_intent_key_label_type));
final TextView lblScanSource = (TextView) findViewById(R.id.lblScanSource);
final TextView lblScanData = (TextView) findViewById(R.id.lblScanData);
final TextView lblScanLabelType = (TextView) findViewById(R.id.lblScanDecoder);
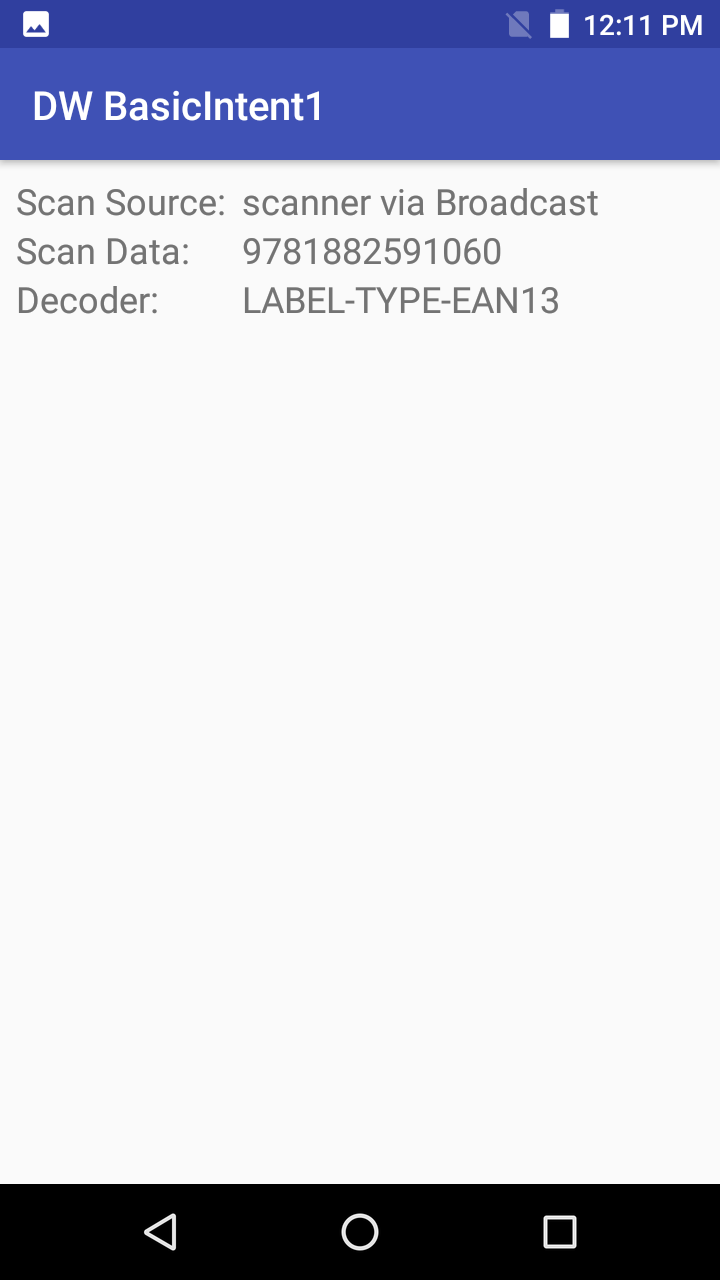
lblScanSource.setText(decodedSource + " " + howDataReceived);
lblScanData.setText(decodedData);
lblScanLabelType.setText(decodedLabelType);
}
Note that the extra keys were defined earlier in the strings.xml file. This code assumes a UI exists in which to place the data, as performed in the sample app.
Related guides: