
The MultiFragment sample app demonstrates how to receive scanned barcode data through an Android intent while handling a single activity with multiple fragments. It configures DataWedge, adjusts scanner parameters at runtime, registers for scanner status notifications, and uses the software scan trigger via DataWedge Intent APIs.
Key features of this sample:
| DataWedge API | App Functionality |
|---|---|
| Get DataWedge Status | Check whether DataWedge is enabled or disabled. |
| Set Config | Create or reset the profile for application requirements. |
| Register for status notifications | Register to receive notifications via intent for scanner status changes. |
| Soft Scan Trigger | Control scanning via soft scan trigger button. |
| Enable/Disable Scanner Input Plug-in | Enable/Disable the Scanner Input Plug-in in use by the current active profile, which effectively disables scanning |
| Switch Scanner Params | Temporarily update the settings of the active profile during runtime by passing scanner reader parameters as intent extras. |
| Enumerate Scanners | Generate an index of scanners available on the device. |
Download and build the sample app.
Copy and launch the sample app on the device.

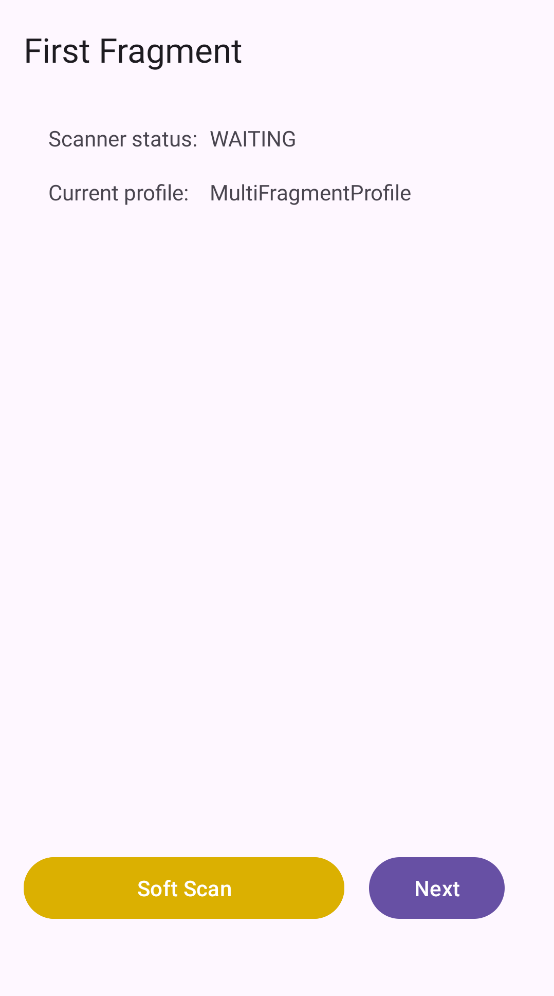
The first fragment appears, displaying the scanner status and active profile.

Press the physical trigger button or toggle the soft scan button to perform a scan. The barcode data and symbology is displayed. Tap Next to go to the next fragment.

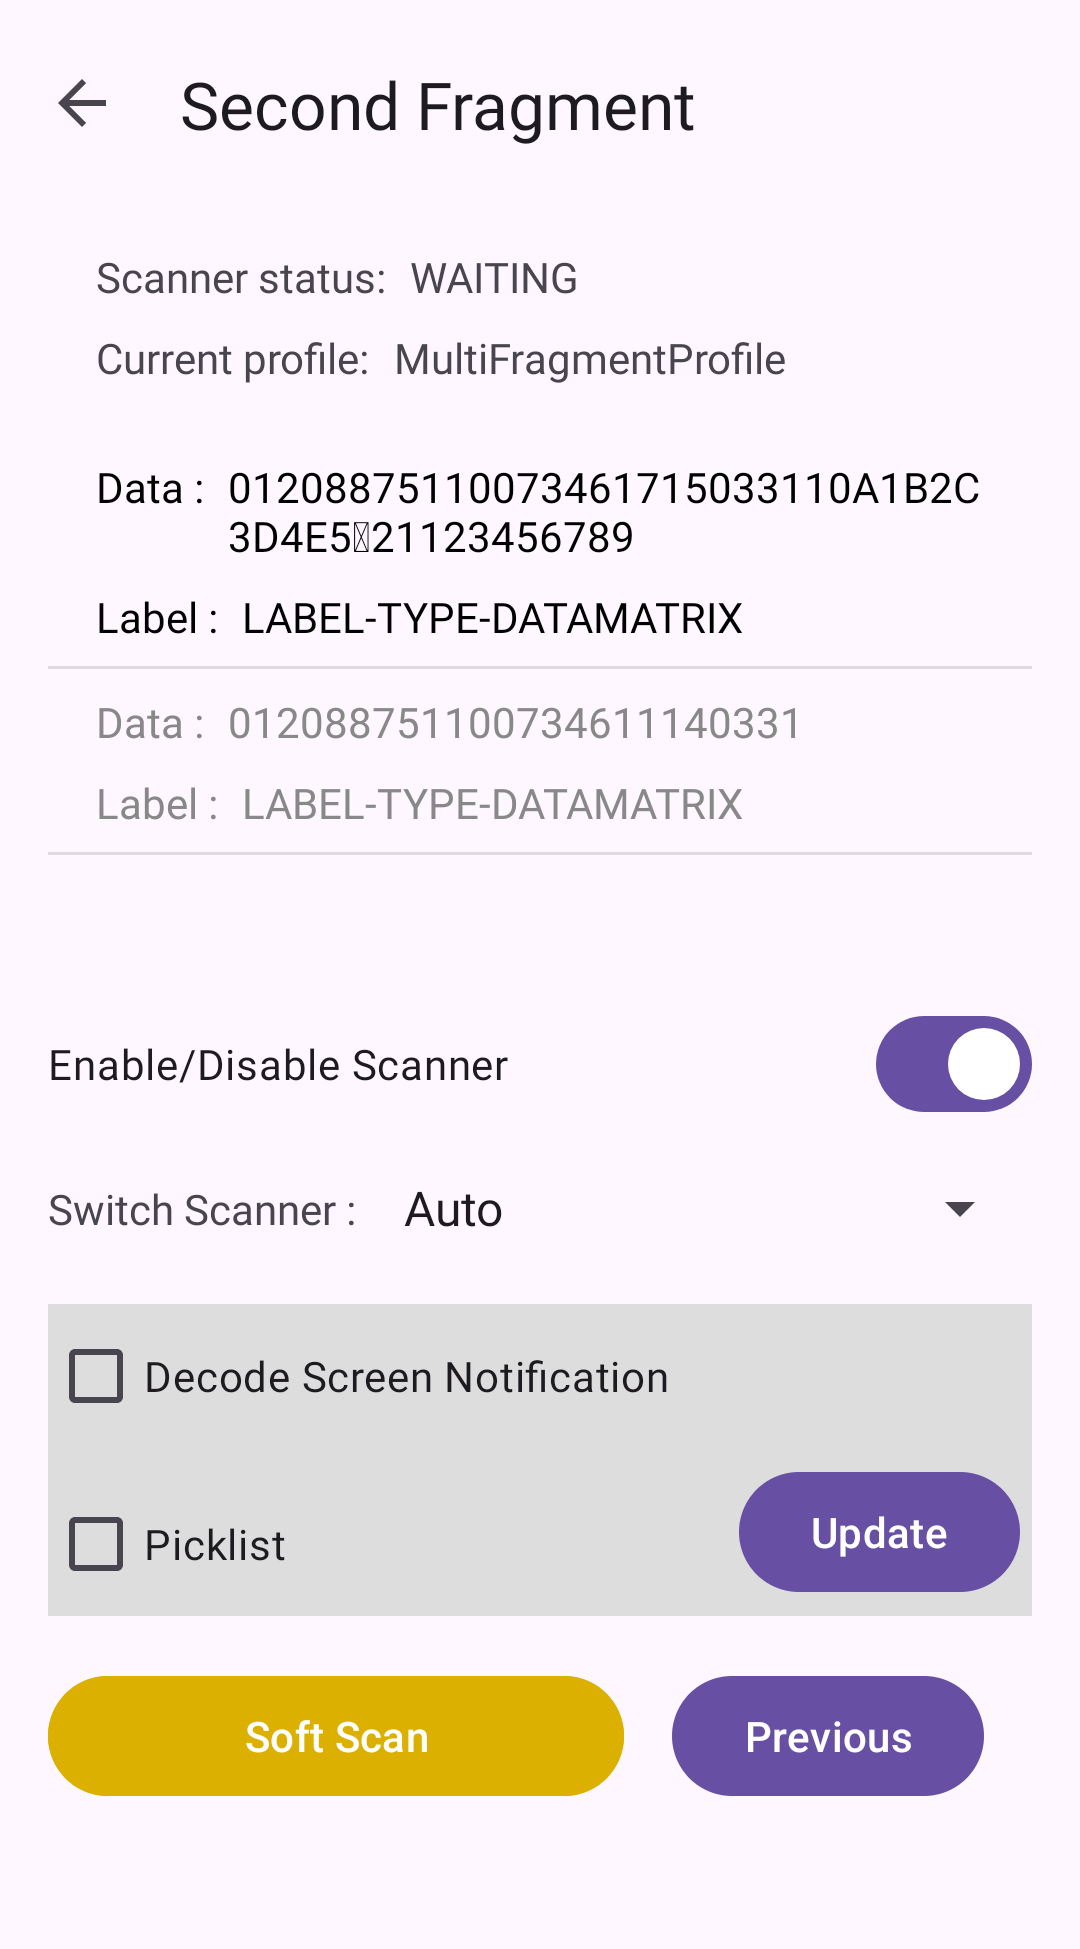
The second fragment is displayed, using the same “MultiFragmentProfile” profile with the scanner initially disabled. Use Enable/Disable Scanner toggle to activate it.

The scanner status updates to "Waiting." Press the physical trigger button or toggle the soft scan button to perform a scan.

The barcode data and symbology is displayed for the scanned barcode.

Options:
Tap Update to apply these changes, which invokes the Switch Scanner Params API.
Note: If the "Scanner status" is DISABLED, both options reset to their default state (disabled).

Press the physical trigger button or toggle the soft scan button to perform a scan. The scanned data is displayed. If Decode Screen Notification is enabled, the screen turns green briefly upon a successful decode.

(Optional) Use the Switch Scanner dropdown to change the scanner hardware, if desired.

Related guides: